My brief wee summary:
1. cover the copper side of the board in spray paint.
 2. Getting the PCB board ready for laser cutting;
- export and save your fritzing file as a etching PDF.
- open photoshop
- draw a black box over your PCB and invert the wiring, ctrl i

- save as jpeg
- open illustrator
- save as illustrator file
 The laser cut cuts away the spray paint exposing the copper. The tracks remain concealed under the spray paint.
4. Acid bath*
*this will remove the exposed copper, leaving the spray paint alone.
- add acid to a small plastic container inside a larger basin.


2. add warm water to the surroundings to quicken the procedure.

5. return to the basin every 15 mins to wash the PCB boards with an acid soaked sponge. This helps to uplift the exposed copper. (this takes a couple of hours to do)
6. Once all the exposed copper is removed, rinse the PCB board under water and remove the with hot water.

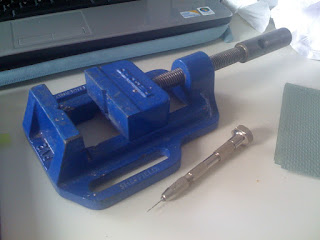
7. drill the holes


8. add and solder the components.


No comments:
Post a Comment